- Share on
Deploy our Django project on cloud - Part 3
DAY 2 - March 2019
Since the last tutorial, few months occured (sorry for that too much work), so we need to update a little bit our requirement file to patch some django vulnerabilities.
django>=2.0.11
psycopg2==2.7 --no-binary psycopg2
pillow==5.1.0
django-jet
to the requirements.txt file and launch the command:
pip3 install -r requirements.txtNow we will create a clevercloud directory on our root directory(mkdir clevercloud) and add the following files:
buckets.json
http.json
python.json
python-version
Our first file buckets.json will indicate where our files should be store.
[
   {
         "bucket_host": "bucket-e3824de2-e502-481f-a1ae-1111c47636fc-fsbucket.services.clever-cloud.com",
         "folder": "/static/storage"
 }
]
Or you can configure an environment variable (having a buckets.json file is deprecated now)
CC_FS_BUCKET=/static/storage:bucket-e3824de2-e502-481f-a1ae-1111c47636fc-fsbucket.services.clever-cloud.comIn the http.json file , we will specify that we want to use HTTPS
{
    "force_https": true
}
In the python.json file, we will configure the wsgi for our project:
{ "deploy": {
   "module": "bikebackend_wsgi",
    "static": "/static/"
  }
}
and we need to create our bikebackend_wsgi file (still on the root folder of our project):
# *coding: utf-8*
import sys
import os
sys.path.append(os.getenv('APP_HOME'))
os.environ['DJANGO_SETTINGS_MODULE'] = 'bikebackend.settings'
os.environ['PYTHON_EGG_CACHE'] = '/tmp/.python-egg'
from django.core.wsgi import get_wsgi_application
application = get_wsgi_application()
In our last file python_version we will just indicate which version of python our project is using.
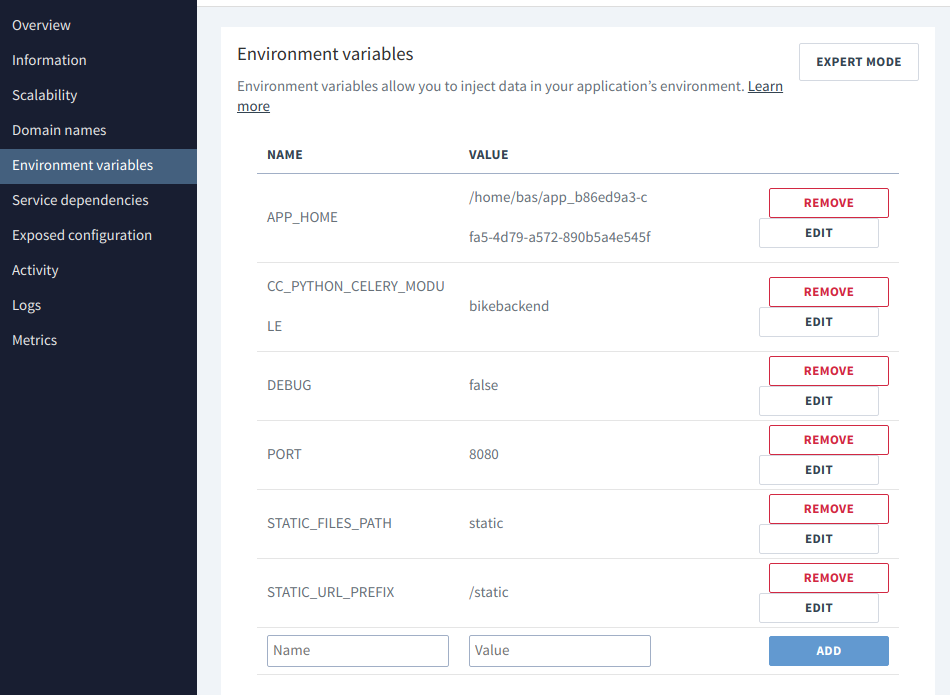
3Finally, we need to add some environment variables in Clever cloud console
To deploy to clever cloud, each application is linked to a GIT directory, in which we need to put our code, commit and push. Once you push your code on the master branch, the code will automatically deploy on clever cloud and you can see logs in the clever cloud console. Don't hesitate to refer to Clever cloud documentation to know more about this process.
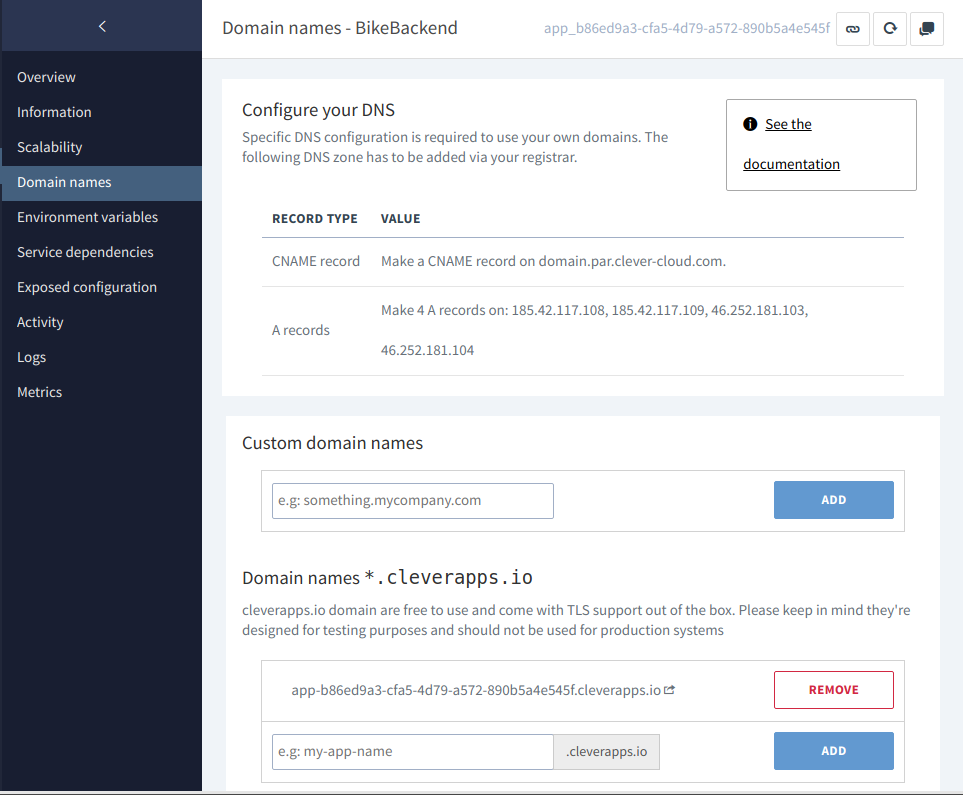
Now that our application is deployed on the cloud, you can visit it using the domain name that Clever cloud has associated to your app (Use only for development purpose).
Ok in our next tutorial, we will learn how to create a basic IONIC 4 application.
Stay tuned