- Share on
Deploy our Django project on cloud
DAY 2 - October 2018
In our previous tutorial, we learn to setup our django project.
In this tutorial, we will polishing our django admin interface and then deploy it into the cloud.
As reminder, all source code could be find on my Github repository
Using Clever Cloud service, it is really easy to deploy the django project.
You just need to declare which services you will use and they take care of all the ops work stuff. Then you can just focus on your business
and deploy your code using GIT commands.
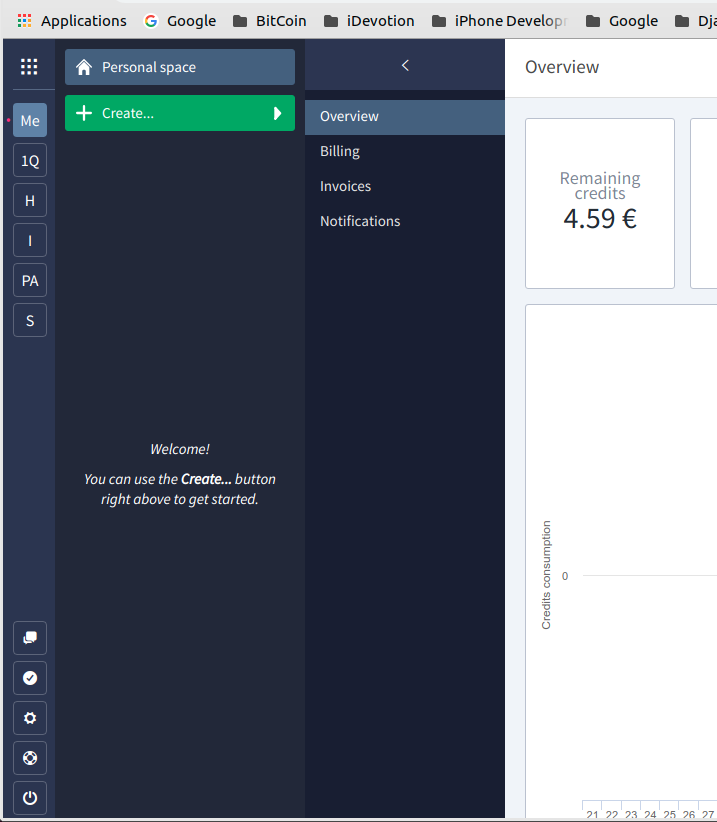
So to begin, create an account (it's free and they give you 20 € which is quite enough to test and develop your project), and then follow these steps:
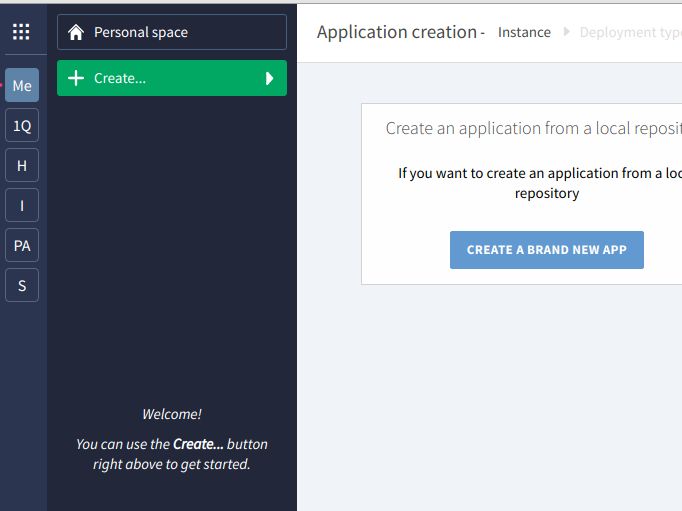
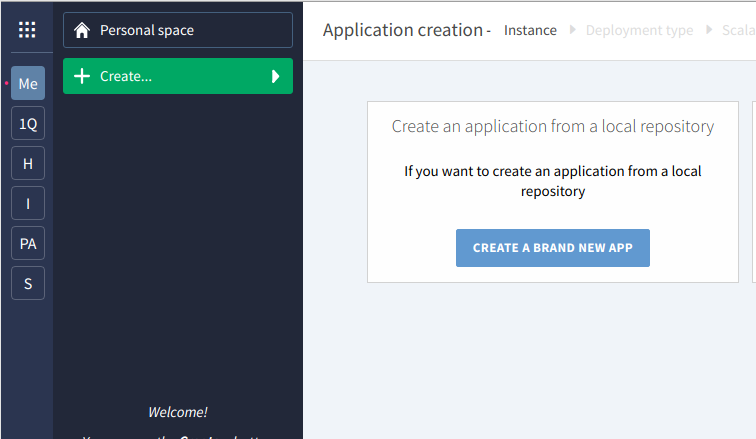
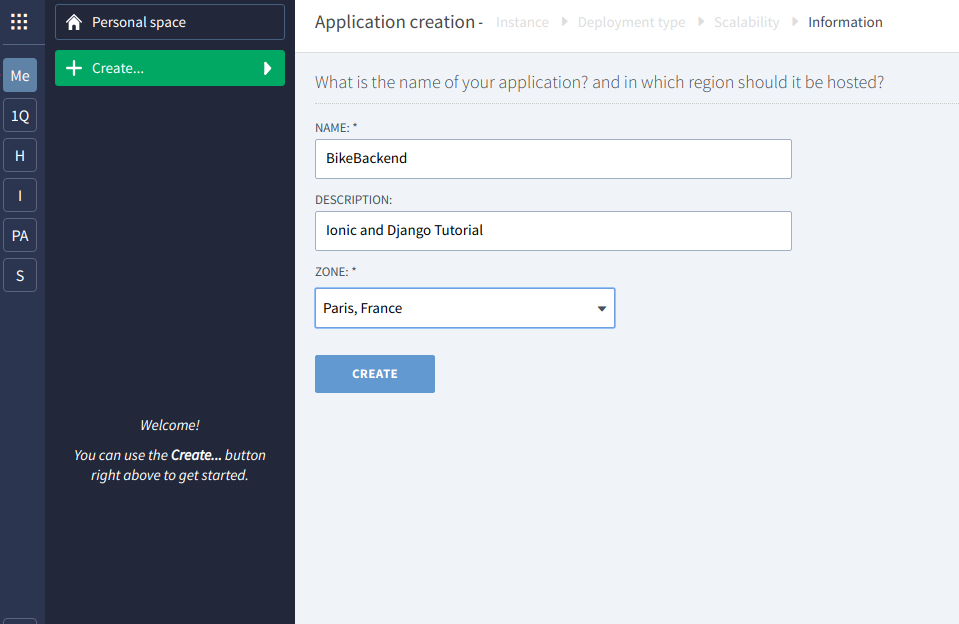
- Create an application
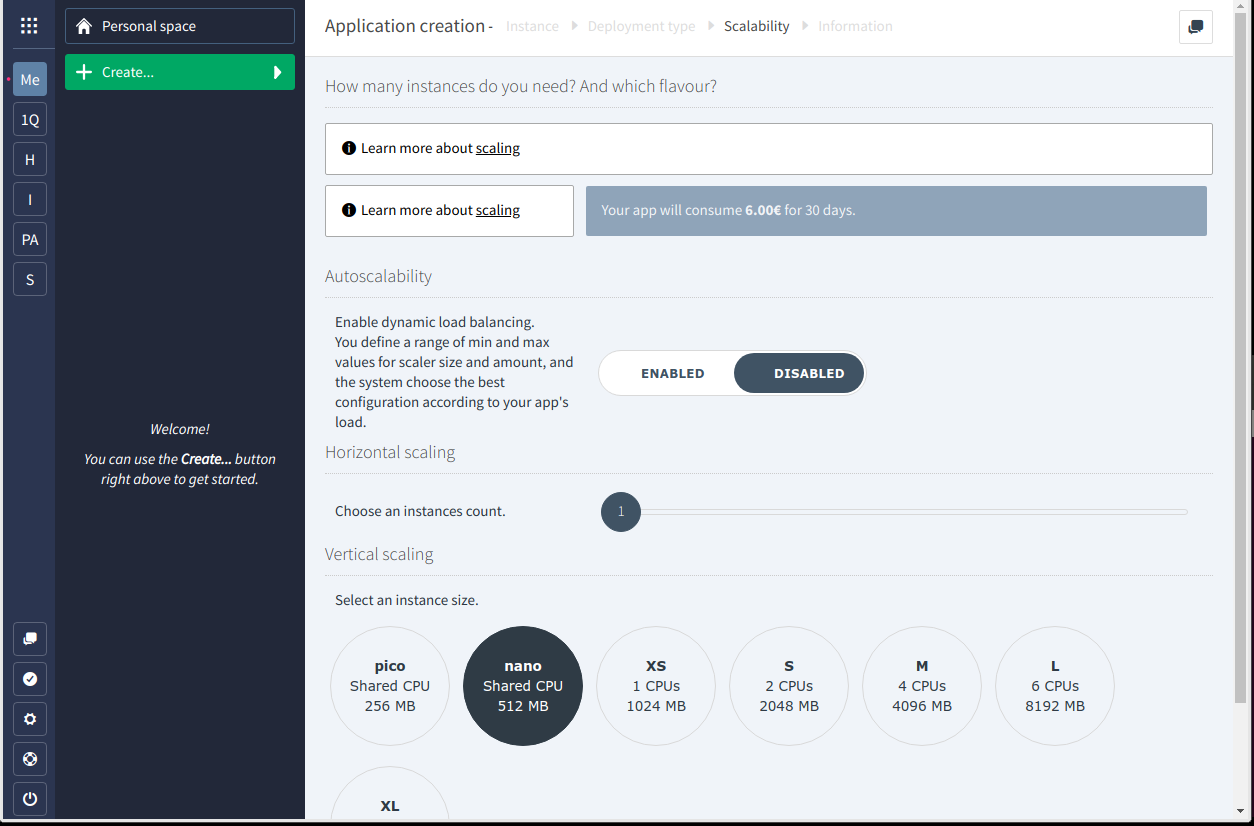
- Choose your scaling mode : to develop we can choose a nano instance
- Named your app and choose your zone (Paris or Montreal)
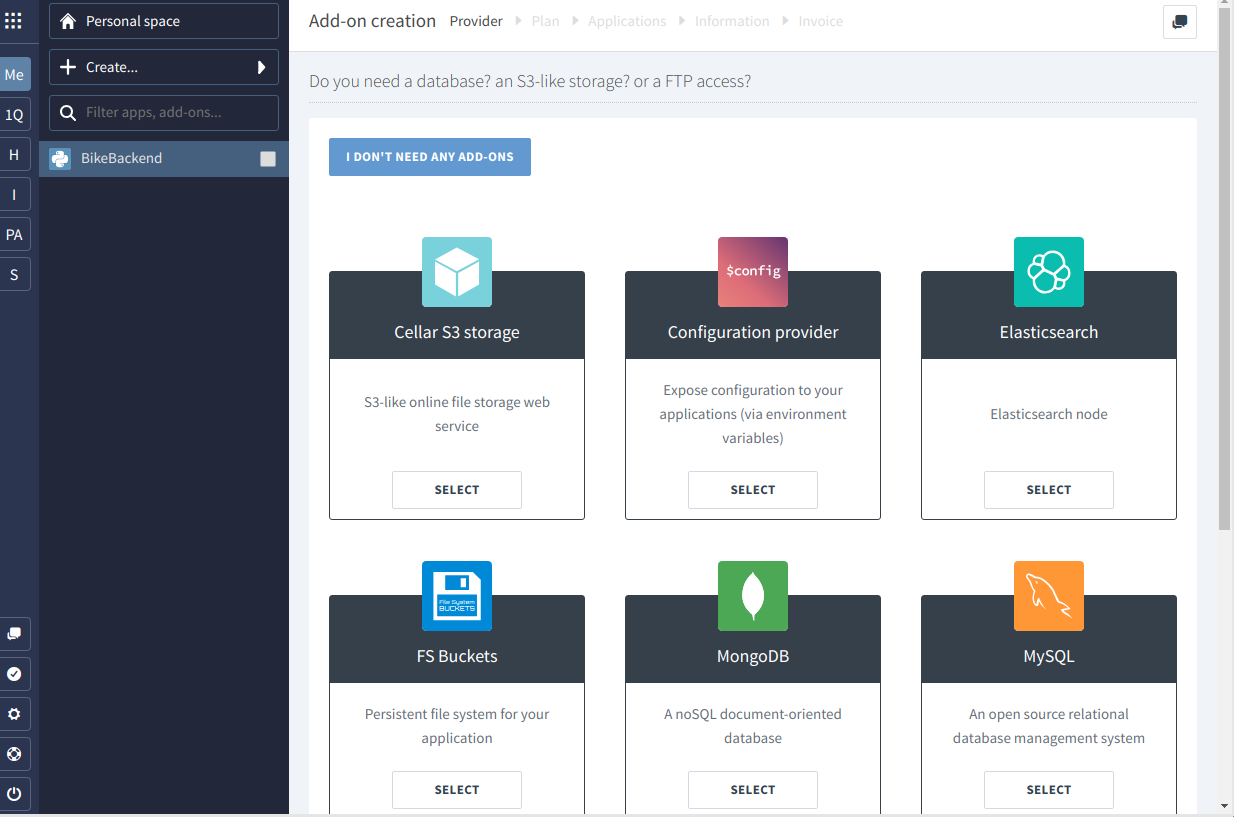
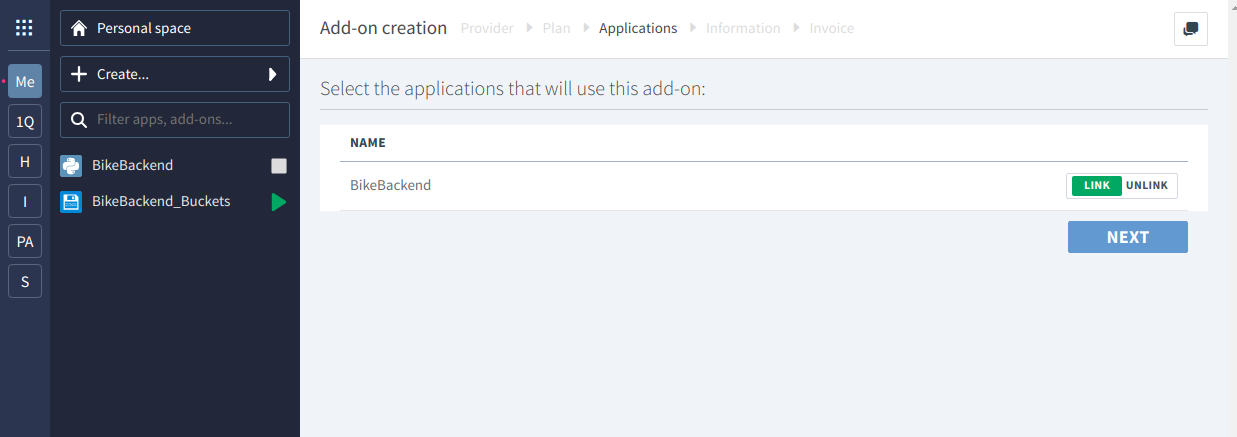
- Add an add-on to your apps : FS Buckets (it is like an Amazon S3), your files will be stored on it
- Add another add-on : Our PostgreSQL database. You can choose the development one
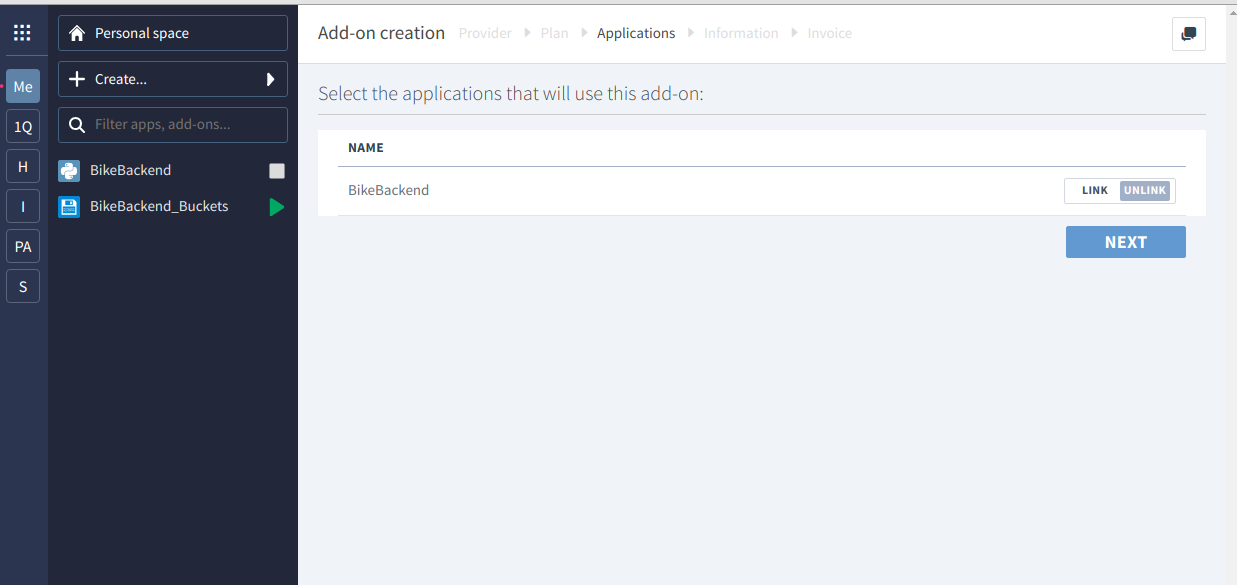
- Link your PostgreSQL add-on to your application
- Send a message to Clever cloud support to ask them activate the Postgis extension for your PostgreSQL database. Don't worry, they are very reactive.


Now before deploying on the cloud, we will test our application on our local machine. In our bikebackend directory, we create a static directory,
for our static files. Inside this directory we create another static directory and a storage directory. The static directory will contains all
the static files, and the storage directory, our logs files and user files (like uploaded image from our application...).
Then we need the libraries to use PostgreSQL with Django. In our requirements.txt we add :
django==2.1
psycopg2-binary==2.7.4
pillow==5.1.0- psycopg2-binary : is the python PostgreSQL driver
- pillow : is our image library
Install the new libraries with:
pip3 install -r requirements.txtFinally, we need to configure our Django app to indicate our database connection, our static repository... Edit the settings.py file located in bikebackend/bikebackend directory and add the following lines:
POSTGRESQL_ADDON_URI = os.getenv("POSTGRESQL_ADDON_URI")
POSTGRESQL_ADDON_PORT = os.getenv("POSTGRESQL_ADDON_PORT")
POSTGRESQL_ADDON_HOST = os.getenv("POSTGRESQL_ADDON_HOST")
POSTGRESQL_ADDON_DB = os.getenv("POSTGRESQL_ADDON_DB")
POSTGRESQL_ADDON_PASSWORD = os.getenv("POSTGRESQL_ADDON_PASSWORD")
POSTGRESQL_ADDON_USER = os.getenv("POSTGRESQL_ADDON_USER")
STATIC_URL_PREFIX  = os.getenv("STATIC_URL_PREFIX")
MEDIA_ROOT=os.getenv("APP_HOME")+os.getenv("STATIC_URL_PREFIX")+'/storage/'
MEDIA_URL = os.getenv('STATIC_URL_PREFIX')+"/storage/"
STATIC_ROOT = os.getenv("APP_HOME")+os.getenv("STATIC_URL_PREFIX")+'/static/static/'
Then replace the database lines with our PostgreSQL version:
DATABASES = {
    'default': {
        'ENGINE': 'django.contrib.gis.db.backends.postgis', #''django.db.backends.postgresql_psycopg2',  #'django.db.backends.mysql',
        'NAME': POSTGRESQL_ADDON_DB,
        'USER': POSTGRESQL_ADDON_USER,
        'PASSWORD': POSTGRESQL_ADDON_PASSWORD,
        'HOST': POSTGRESQL_ADDON_HOST,
        'PORT': POSTGRESQL_ADDON_PORT,
        'CONN_MAX_AGE': 5,
    }
}
First we are getting and settings variables from environment values, because this is the way Clever Cloud works. It will inject the correct values at runtime.
This is quite standard/usual way to do so.
As PostgreSQL engine, we will use the Postgis extension because we will have to deal with geolocation objects/queries (Remember our IONIC application is about
finding Bikes around users.)
So to be able to run and test the django project on your local machine, you need to setup these environment variables with correct values. You can get the PostgreSQL values,
on your Clever cloud PostgreSQL add-on dashboard:
Credentials
Host	XXXXXXX-postgresql.services.clever-cloud.com
Database	XXXXXX
User	XXXXXX
Port	5432 (default)
Password	XXXXXX
Connection URI	postgresql://XXXX:XXXXXXX.services.clever-cloud.com:5432/XXXX
Usually i create a varEnv.txt file on my machine (inside the bikebackend directory) with the values:
export POSTGRESQL_ADDON_URI=postgresql://XXXXXXX:XXXXXXX@XXXXXXX-postgresql.services.clever-cloud.com:5432/XXXXXXX
export POSTGRESQL_ADDON_PORT=5432
export POSTGRESQL_ADDON_HOST=XXXXXXX-postgresql.services.clever-cloud.com
export POSTGRESQL_ADDON_DB=XXXXXXX
export POSTGRESQL_ADDON_PASSWORD=XXXXXXX
export APP_HOME=/home/csurbier/Documents/Tutorial/Backend/bikebackend/
export STATIC_URL_PREFIX=/static
export POSTGRESQL_ADDON_USER=XXXXXXX
Just replace the XXXXXXX with your correct value and set the APP_HOME with your correct path. Then you can launch the commands in your terminal,
to export the values.
Another way is to add these values to your django environment directory (the one we created with the virtualenv command). Just add these lines at the end
of your /bin/activate file.
Now we are ready to create our database models (please refer to tutorial one).
If Clever cloud answered to you and have activated the Postgis extension then you can launch (from the bikebackend root directory):
python3 manage.py makemigrations
python3 manage.py migrate
To access our backoffice, we need to create a superuser:
python3 manage.py createsuperuser
You will have to enter the email with which you want to authenticate and the password (please note that since we override the django User model, we only require an email).
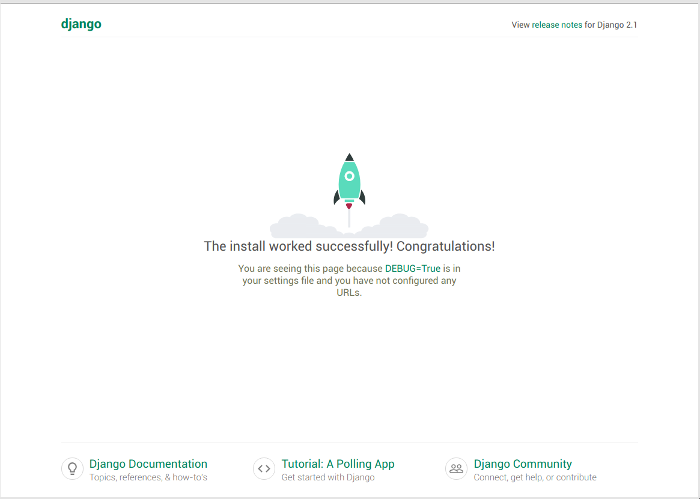
Run your django project:
python3 manage.py runserverIf everything is ok you should see when launching your browser at : http://127.0.0.1:8000/
To access the backoffice use the url : http://127.0.0.1:8000/admin/ and enter your email, password that you have choosen. The access will be denied :(.
What's happening ?
In the User model we define the field: is_staff = models.BooleanField(('staff'), default=False) with a default false value.
is_staff is the variable used by Django to check if a user is able to access to the Backoffice or not. And since we don't want our future users of our IONIC application,
to access the backoffice (security issue if they found or guess our admin interface), we set the value to false.
To correct the issue, just update your database table (which should contain at the moment only one row : the superuser we created) with the following command:
update backoffice_user set is_staff=True
You can use any PostgreSQL client to run the SQL command or the Clever Cloud PostgreSQL database manager interface.
Now if you try again to login to the admin interface, it should be successful and you should be able to manage the User and Bike models.
