- Share on
Create a Ionic 4 application - Part 1
DAY 3 - March 2019
Now that our backend is ready and live, it's time to create our Ionic 4 application.
I assume that if you are reading this tutorial, you already know why using IONIC for building application is better than others frameworks
(such as React 😉) but to resume:
- Easy to learn and use
- Based on web standard technologies : HTML5, CSS, Javascript
- Great performances
- Generate iOS application, Android application and Progressive web app from one same code
Ok so let's begin. First we need a new directory (i will call it Application) inside of which we will generate the Ionic application.
I will assume that you have already setup/install your machine to do Ionic developmennt. If not please refer to Ionic documentation.
Inside our Application directory, in a terminal launch the following command:
ionic start bikeapplication tabs --cordovabikeapplication will be the name of our application
tabs parameter is to specify that we will use the ionic 4 tabs template.
--cordova is to specify that we will use cordova to manage native SDKs
At the following question, you can answer n (No)
? Install the free Ionic Appflow SDK and connect your app? (Y/n)
At the end of the installation, a new directory should be created with the name of our application : bikeapplication, and if you go inside, you will find our Ionic 4 project with all the necessary files to build and run the project.
So you can go inside the folder and launch the command:
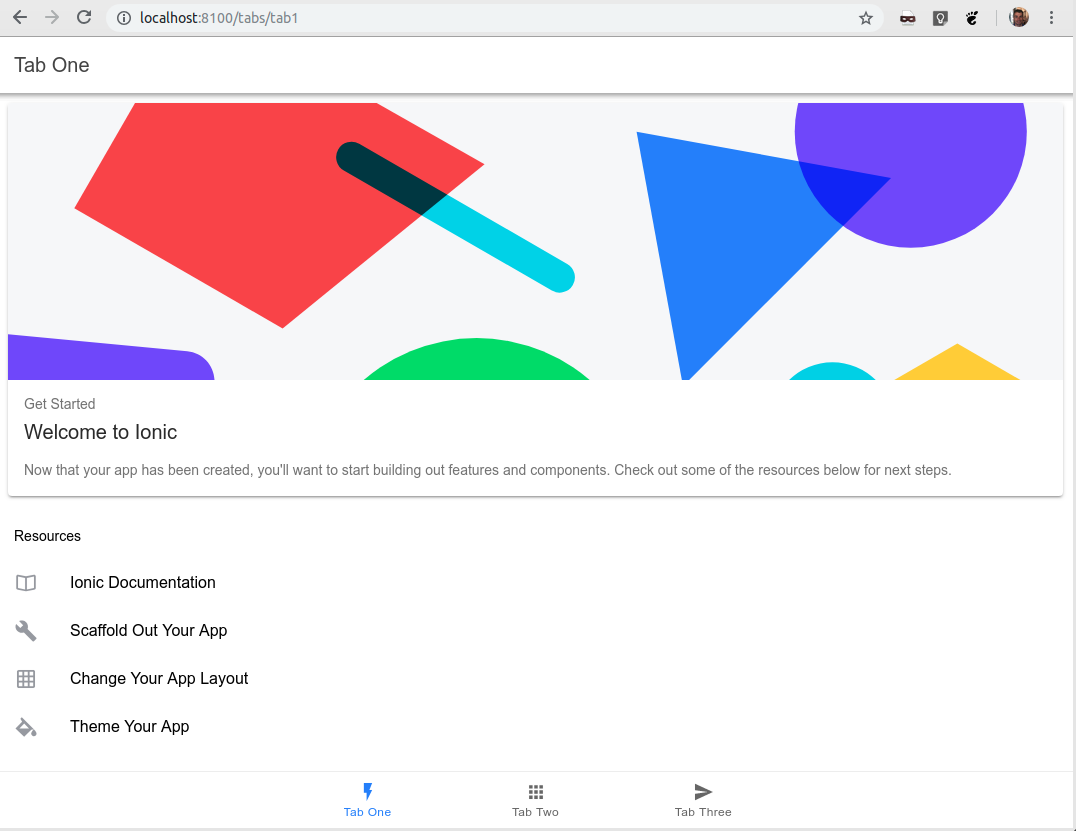
ionic serveIt should run the ionic application and launch automatically your browser to show you the app. If not launch your browser at the url : http://localhost:8100/home you should see the following :
And of course the application is fully responsive, if you resize your browser the code will adapt.