- Share on
Deploy Ionic on production and test on android/ios device
May 2020| Read my new blog dedicated to Django Admin |
| Django Admin Tutorials |
In this tutorial we will learn how to test our ionic application on a real device (android or ios) and then deploy to production.
And to do that we will use Capacitor 2.0 which is the new framework created by the Ionic Team to replace cordova.
As reminder the repository code of our application is on Github
Install and configure Capacitor for our Ionic application
To add Capacitor to our existing Ionic application we need to launch the command:
ionic integrations enable capacitorAfter that we need to tell some information about our app to Capacitor such as it's name and it's bundle identifier or appId.
npx cap init bikebackend com.idevotion.bikebackend
Then we can add the platform that we will use i.e Android or iOS or Electron or both or ...
Let's start with Android:
npx cap add androidOk now let's build our application and deploy on android
ionic buildIonic builds our code and generate all required files in a directory called www. This is the directory that will be deployed and used on Android or iOS project.
So let's add it to our new Capacitor project
npx cap syncThis command will synchronise the www folder with all platforms added to Capacitor (Only Android at the moment).
But if we add the ios platform too:
npx cap add iosThen npx cap sync will synchronise both ios and android projects
Ok now let's try to run our app on android by launching it with the command
npx cap open androidNotice: On ubuntu environment, i had to add the following config
"linuxAndroidStudioPath": "/snap/bin/android-studio"to capacitor.config.json file to let it know where my Android Studio was located
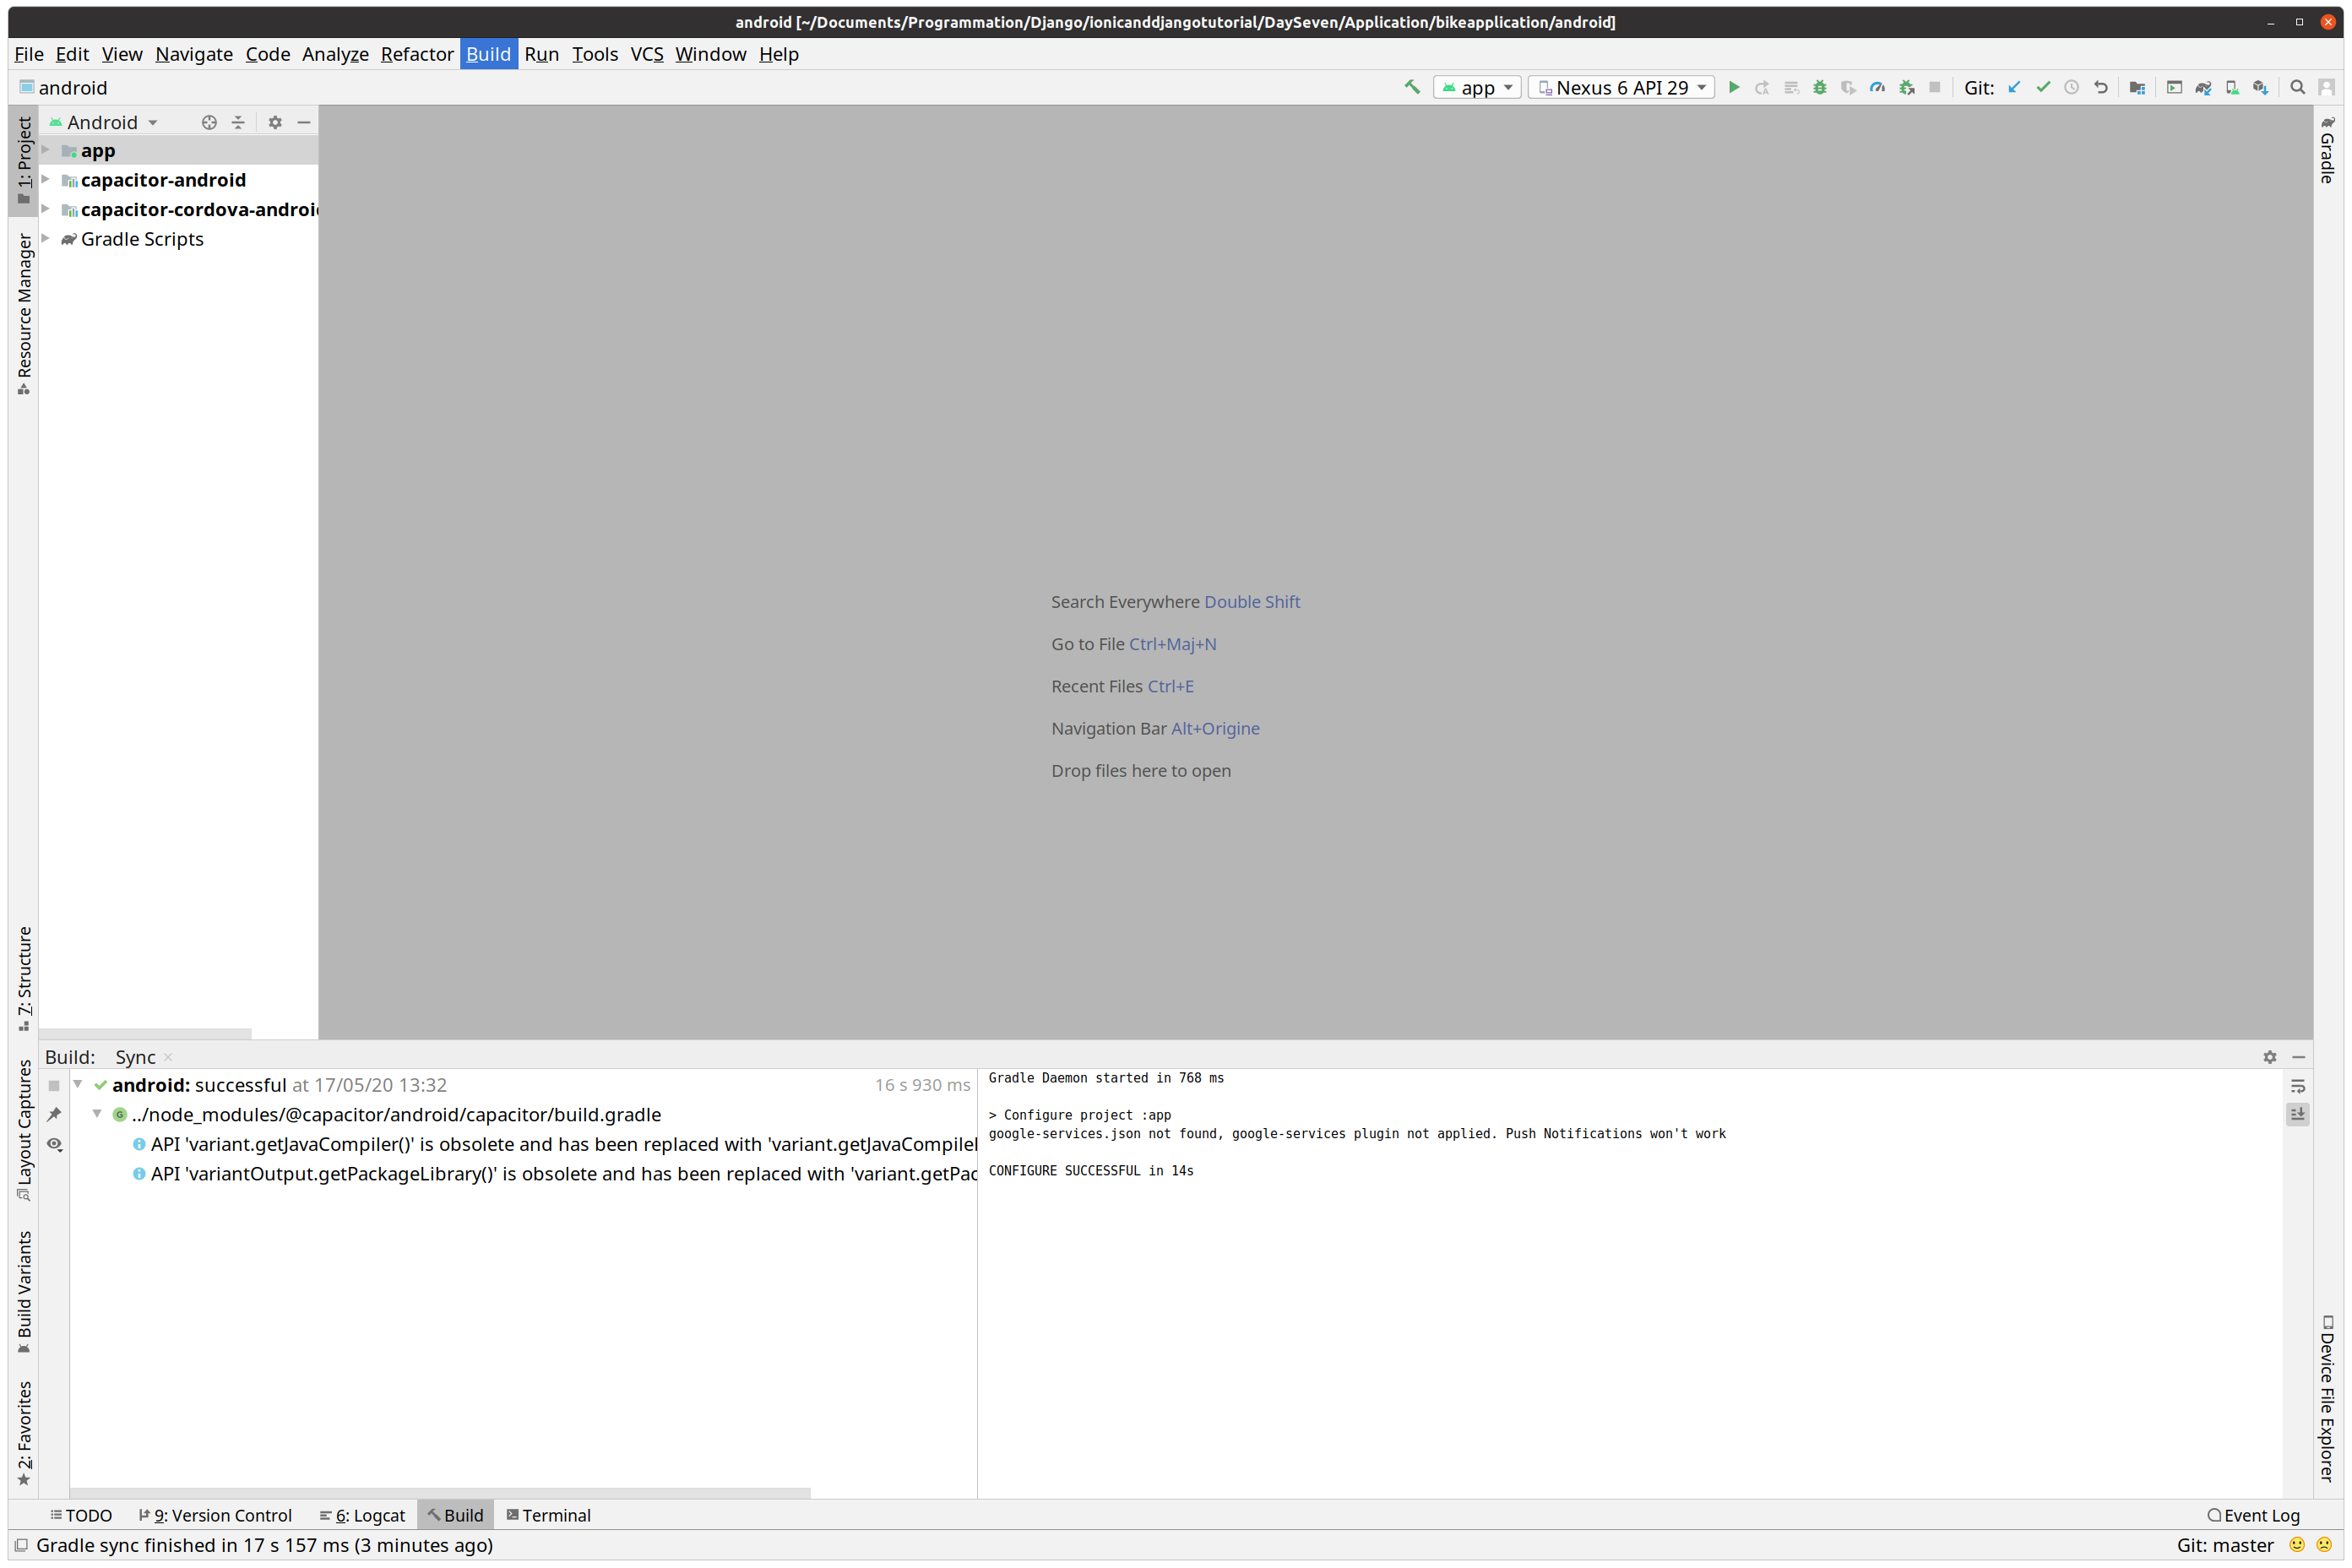
Now within Android Studio, you can choose to run the application on a real device (if you have enable Development mode or run on an android emulator.
This tutorial is not about how to configure an emulator on Android Studio, so i will assume that you will already have one
Here is a screenshot of the results within my environment: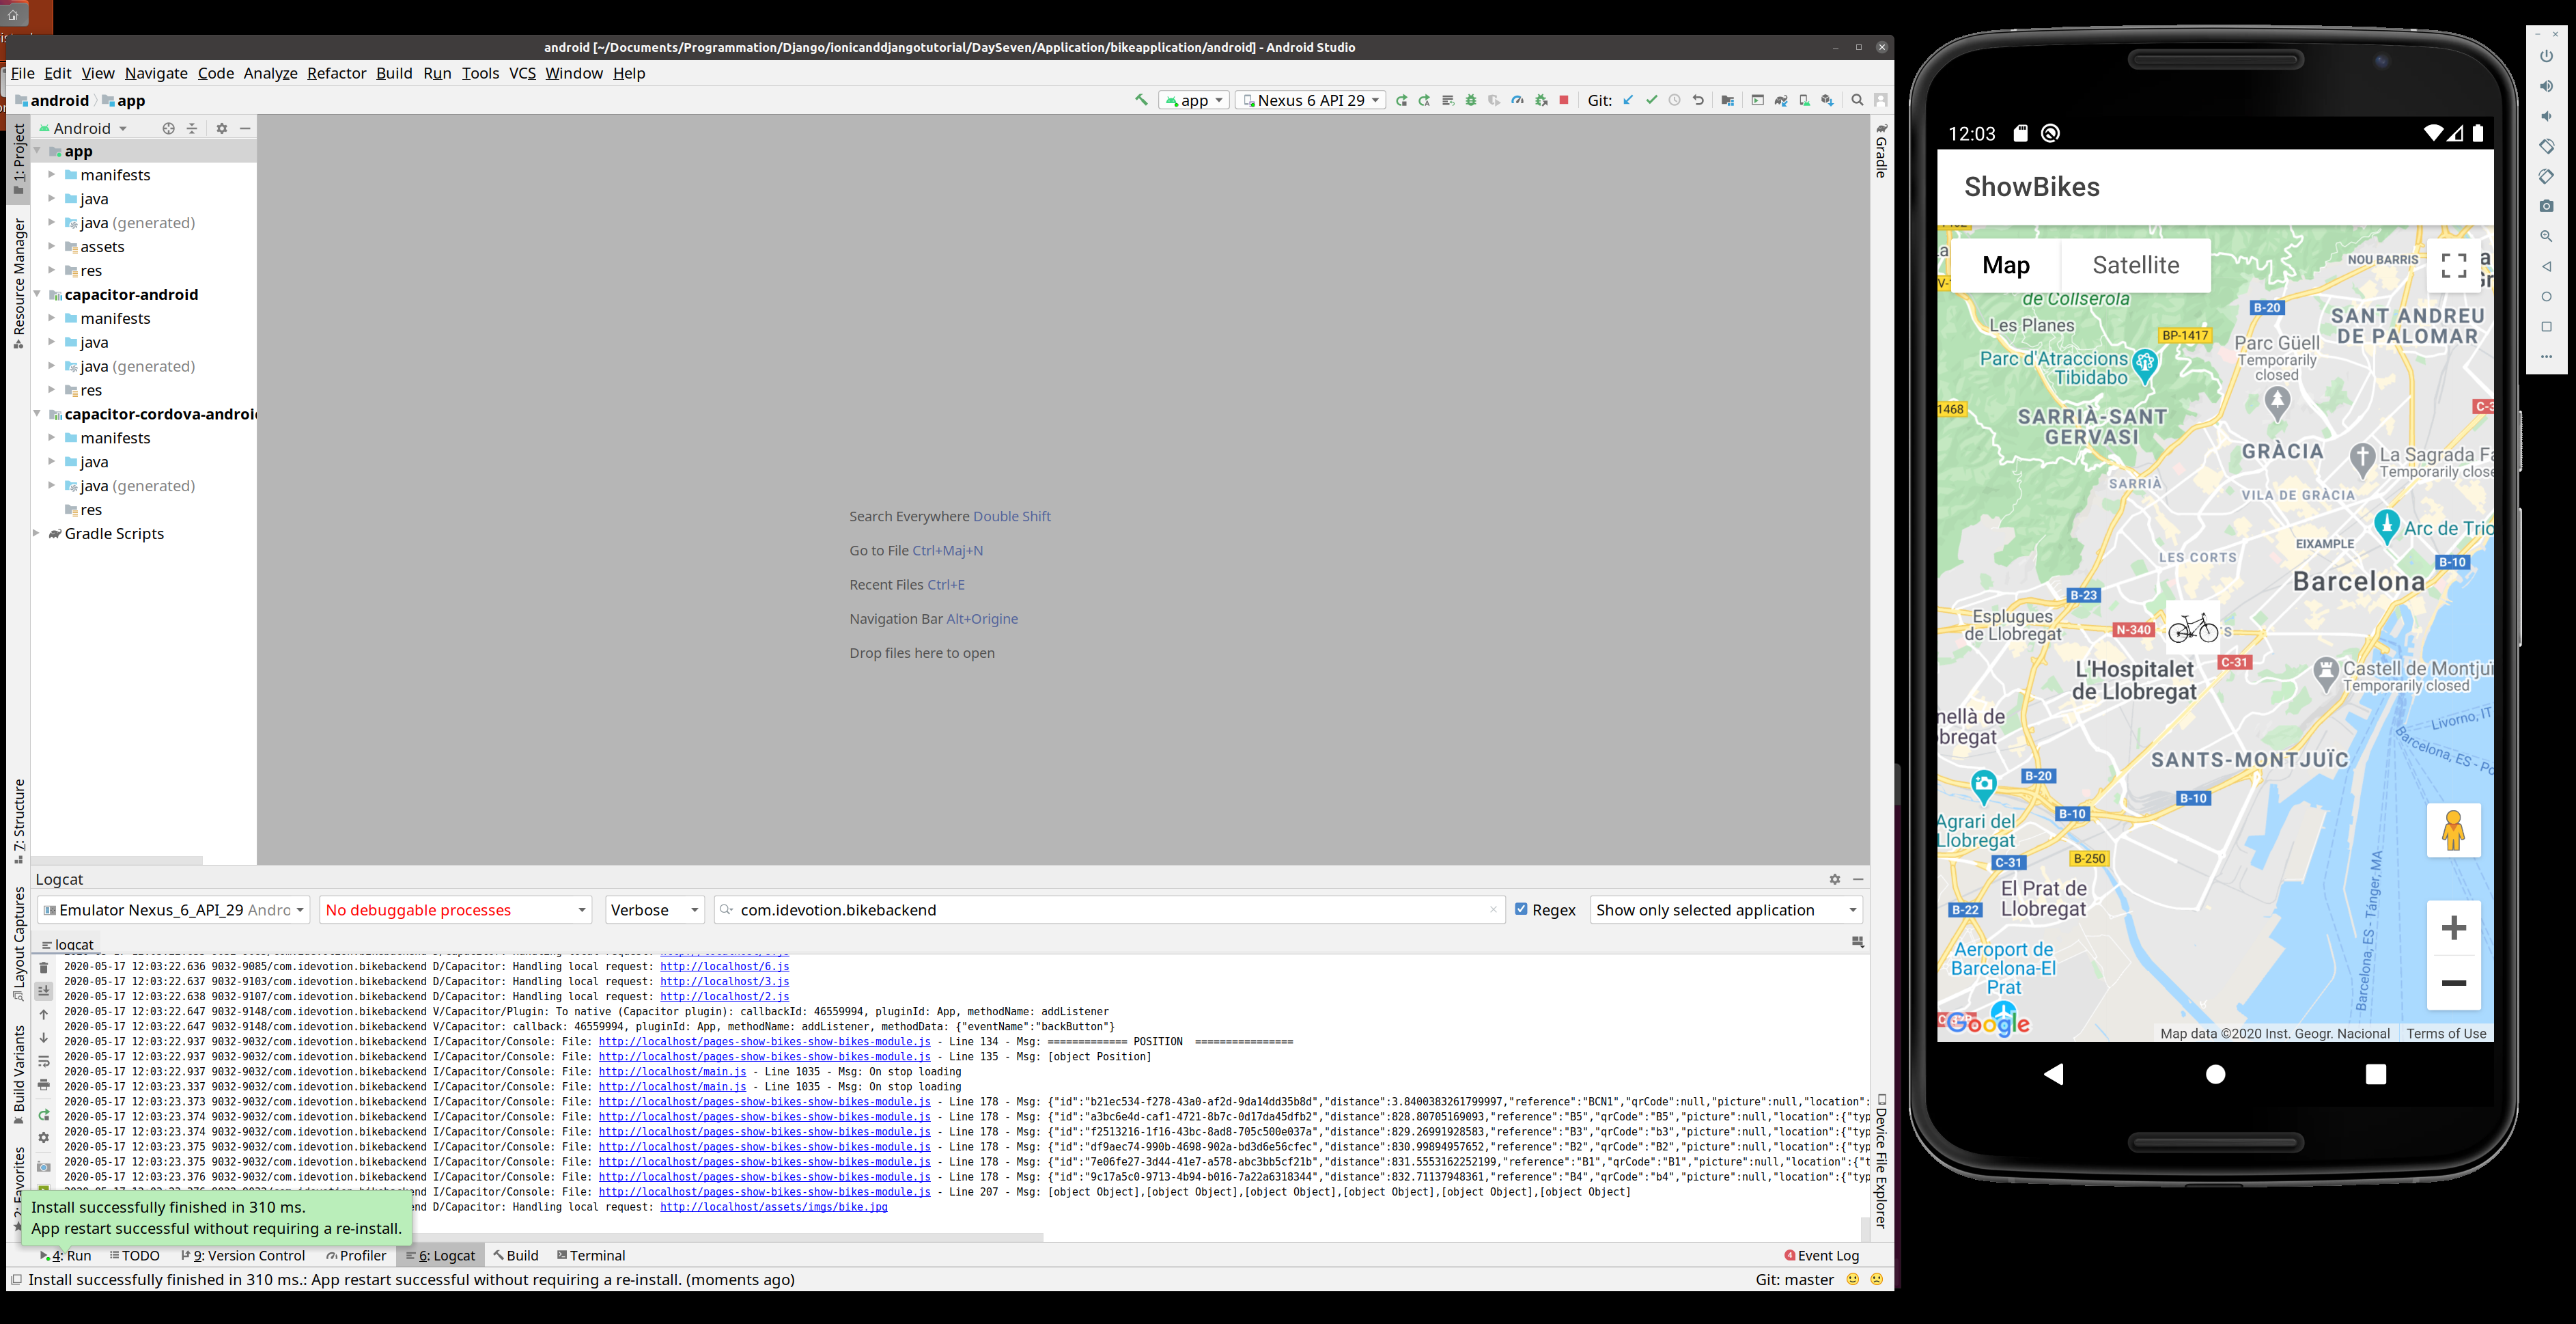
To deploy on iOS, you need a mac since Xcode the development tool used to create iOS application is only available on Mac.
Then to launch it very simple
npx cap open iosOk our application is running but is still on development mode. We should not use this build to deploy on stores otherwise performances could be poor
Configure and build Ionic for production
If we take a look at main.ts file in a Ionic application we will see:
import { enableProdMode } from '@angular/core';
import { platformBrowserDynamic } from '@angular/platform-browser-dynamic';

import { AppModule } from './app/app.module';
import { environment } from './environments/environment';

if (environment.production) {
  enableProdMode();
}

platformBrowserDynamic().bootstrapModule(AppModule)
  .catch(err => console.log(err));
The interesting part is
if (environment.production) {
  enableProdMode();
}
This enableProdMode commands will do a lot of improvments such as reducing code, compressing it, ofuscating it,...
So to enable this production environment, nothing more simple that building again our Ionic application but with the argument --prod
ionic build --prodWe can see on our terminal
> ng run app:build:productionwhich tells us that Ionic will generate a production build. Then after each build to update our capacitor project(s), don't forget to run
npx cap sync
Finally to release the application on Google Store or Apple store, we need to compile our project again within Android Studio or Xcode, and then signing it for production.
On iOS, it is more complicated than Android to generate a certificate, and you will find dedicated tutorials on the web for that
To signed a production APK on android, go to Build->Generate signed bundle apk